Variables
In senta-streamer there are several types of variables that you can use in profiles:
- Standard variables:
${i}- input stream,${o}- output stream - Custom variables (text, boolean and select)
Custom variables specification
After keyword WHERE in profile started JSON Array whith specification of variables.
For each variable an object is created with the following fields:
desc- description of variable, which we use in commandname- name, which are will use in stream add formdescription- description of variable, which are will use in stream add form (optional)command- part of command, where$valuewill be changed to value from stream add form (example-gpu $value).default- default value it can be empty,
For example:
// Simple startup profile for HD h264 encoding
// You can change it, fork it and share it with others
ffmpeg -y -hide_banner -i ${i} -map 0:0 -map 0:1 -c:v h264_nvenc ${gpu} -preset fast -profile:v main -filter:v yadif -forced-idr 1 -b:v 4M -c:a aac -b:a 128k -r 25 -g 8 -keyint_min 13 -f mpegts ${o}
NAME "HD h264"
WHERE
[
 {
   "desc": "gpu",
   "data": {
    "name": "GPU",
    "description": "Select GPU which stream will use, set empty if you don't use GPU",
    "command": "-gpu $value",
    "default": ""
   }
 }
]
In this example:
Standard Variables:
Standard variables (you don't need write info about them):
${i} - input stream, you can use more that 1 input, in stream add menu they will be numered from 0 (input #0, input #1 ...)
${o} - output stream, you can use more that 1 output, in stream add menu they will be numered from 0
Custom variables:
(in this example, you can add what do you need):
${gpu} - number of gpu adapter
Note: default value of in this example it is empty (in command DON'T add -gpu ), but you can set default value
Text variables
When forming the command line, text variables replace the variable with custom text.
Example of a text variable:
"desc": "logo",
"data": {
 "name": "Logo path",
 "description": "Print the path to the image file with the logo",
 "command": "-i $value",
 "default": ""
}
In the profile, the variable ${logo} will be replaced with -i $value.
In the stream editor, added field whith label Logo path, with description Print the path to the image file with the logo, and its value will replace $value.
In the end, we have a profile:
ffmpeg -i ${i} ${logo} bla-bla ${o}
NAME "TEST"
WHERE
[
    {
        "desc": "logo",
        "data": {
             "name": "Logo path",
             "description": "Print the path to the image file with the logo",
             "command": "-i $value",
             "default": ""
        }
    }
]
In the stream settings, we will specify:
input#0: 'inp.ts'
output#0: 'udp://out:1234'
logo: 'logo.ts'
As a result, the launch command will be:
ffmpeg -i inp.ts -i logo.ts bla-bla udp://out:1234
Boolean variables
Boolean variables insert text when forming the launch command, if the value is true and do not insert it when the value is false.
For set this type you need add "extendtion": {"type": "checkbox",} in variable struct
Example:
// Example of boolean variable
// This variable is used to set -y option, whitch need to rewrite output file
"desc": "rev",
"data": {
 "name": "Rewrite file",
 "description": "This option need if as output you use local file",
 "command": "-y",
 "default": "",
 "extendtion": {
  "type": "checkbox",
 }
}
This variable add flag -y if checkbox is checked.
Select variables
Similar to text variables, only the user is given the opportunity to choose from preset values. Convenient to use, for example, when setting the image resolution or setting the codec
You need add "extendtion": {"type": "select"} in variable struct and add preseted options into "options": [...]
Example.
// Example of selector variable
// This variable is used to select the video codec
"desc": "cv",
"data": {
 "name": "Video codec",
 "description": "To copy original codec set copy",
 "command": "-c:v $value",
 "default": "",
 "extendtion": {
  "type": "select",
  "options": [
   "h264_nvenc",
   "libx264",
   "libx265",
   "hevc_nvenc",
   "libaom-av1",
   "libvpx",
   "libvpx-vp9",
   "copy"
  ]
 }
}
Auto generation variable
| This functionality is available only with an activelicense. |
|---|
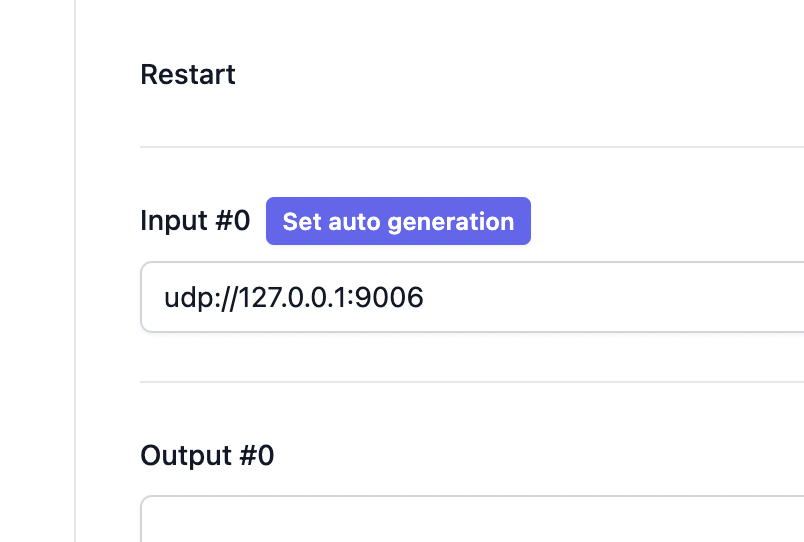
udp://192.168.0.1:9000 - udp://192.168.0.1:9999 to Senta for subsequent transcoding. However, to create a process, we need to know an available port (since the port may already be occupied by another stream). To allow Senta to allocate a port, we need to:Go to Settings, where there is a section called Auto input generation settings. There, we set the starting port: 9000, ending port: 9999, and Interface IP: 192.168.0.1. Then, we apply the settings. When creating a process, we assign the input address as
 udp://${host}:${port} (
or assign the address when creating the stream by pressing the Set auto generation button). Accordingly, a process is created with the input udp://192.168.0.1:9000, assuming the port 9000 is free on the server.Senta monitors free/occupied ports. When a stream is removed, the port it occupied is freed.